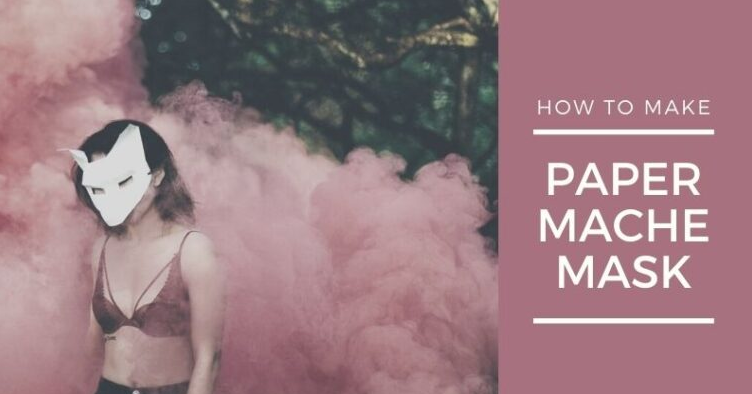
How to Make a Paper Mache Mask. If you’ve ever wanted to make a paper mask for any reason, you’ve come to the right place; We’ll show you exactly how to do it in easy-to-follow steps. For the holidays, Halloween, crafts with kids, or just for fun, paper-Mache masks are versatile and a fabulous way to get off the cover, and also you can start creating landscape drawing.
What you will need:
- Many newspapers
- White flour or wood glue
- Scotch tape
- Pair of scissors
- Mixing bowls
- Waterfall
- Strong ribbon or string
- Wire mesh for sculpting
- Sandpaper
- Sealer
- Acrylic colors in a mix of colors.
- Blending containers or other vessels for adhesive, color, etc.
- Brushes
- A tape measure
- Pencils, paper, and marker
- A rule
- Primer
- Papier-mâché clay
- Sculpting tools
- A drill or awl
Step 1: facial mapping
For this step, you need to measure the face of the mask wearer. Use the tape measure to measure from the top of the forehead to the chin, then get a bit of money and paint a straight line down the center, with small markers at the top and bottom to reflect the top and bottom of the face of the person. Then even from the top of the front to the subject’s hearts and draw a straight line at the right end on the paper.
You will now have a “plus” symbol on your sheet of paper. Mark the straight line as “eyes.” Time to the bottom of the bill and check it on the layer of capital, then time within the subject’s hearts and attention. Mark each measure on your paper plan; you will use it to design your mask.
Step 2: Draw the mask.
Using the markers as a guide, draw the mask you want to create. You can be as creative as you want, but keep it reasonably simple if it’s your first try. Use the markers you drew as a guide to making sure the eye holes end in the correct places. Cut out the paper and hold it close to your face or the subject’s face to see what it looks like. It won’t fit the shape of your face, but it should give you an idea if you like the design and how it will work. You can make changes simply by redrawing the mask on another sheet of paper.
Step 3: transfer to mesh
You will then use the mesh to create the shape of your mask. You may have seen versions of this for kids who use a balloon for this step, but you will get much better and more detailed results with the wire mesh.
The smaller holes make the net easier to cover evenly and accurately, but you can use a net with larger holes if that’s what you have. It will continue to work fine. Set the paper design on the height of the mesh, parallel to the grain. You may want to use dowels to keep it in place from slipping.
Take the marker and trace the border. Don’t feel like you have to press the pen against the outline. Drawing a little generously will give you more net to bend and shape, and remember that you can cut it if necessary.
Step 4: Cut the network
Get some craft scissors to cut the net. Be careful not to cut yourself on the sharp edges. Cut out the outline you drew, but leave the eye holes as they are for now; you can cut them later.
Step 5: shape the mesh.
Use your hands to start shaping the mask. You can gently bend and curve the parts to give it a 3D effect. It is especially effective if you are creating horns or tentacles. Hold the mesh against your face and gently press it into place, contouring it to the contours of your skin (or the subject’s skin). Press along the curves of the eyes, nose, cheeks, and forehead for a smooth, snug fit. Do this several times, smoothing out the parts you’re unhappy with and shaping them until they fit your face well and look the way you want. If you need to cut off the excess mesh, now you can.
Step 6: cut the eyes.
Now that the party is in the right frame, carefully cut out the eye holes with the craft scissors. Remember to fold the sharp pieces of the net away from your face not to hurt your eyes.
Step 7: create glued and torn strips of paper.
With glue or flour, knead an excellent paper-Mache dough. If it is too high, you can add water to moisten the adhesive, but recognize that a wet mix will get extended to drain. If you are making flour dough yourself, use a trusted recipe or one you’ve already tried. So, take your newspaper and start ripping it into long strips. You don’t need to be clean; tear off many strips of different thicknesses.
Newspaper breaks easily in one direction, so find which one it is and use it to your advantage. You can cut multiple sheets at once to speed up the process. Once you have a good stack, you are ready to move on to the next step. You can always boot more later if necessary.
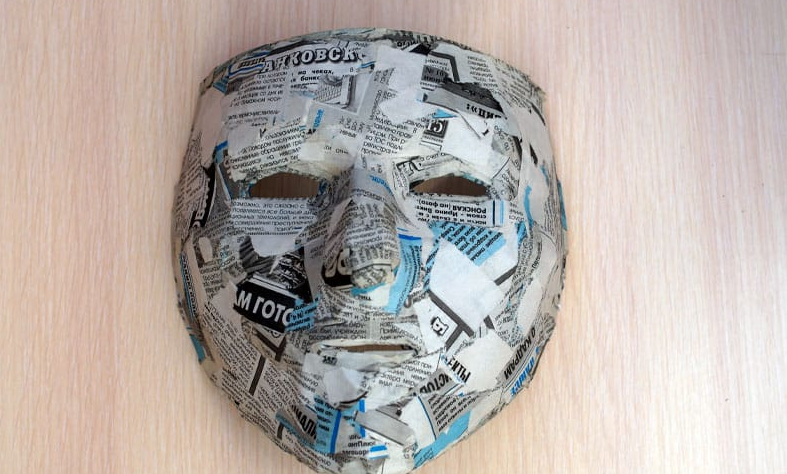
Step 8: add strips of paper to the front of the mask.
Take a strip of newspaper, add some glue or glue and stick it to the show. Continue like this with the other strips until the entire face of the show is completely covered, leaving no gaps. Try to glue the strips evenly, pressing down on the bumps or wrinkles to create an excellent overall finish. Don’t rush this part. Curve the strips to fit the mask, ripping them to end at the edges of the mesh and do not protrude. It doesn’t matter if the strips overlap, but it prevents clumps from forming.
If the glue is too thick, water it a little. Let the first coat dry a bit, then repeat with a second coat, again covering all the gaps. With the second coat, this will be more difficult to see, so work methodically and take your time. Once you have glued two full coats across the entire front of the mask, lay it on and let it dry long enough to allow the strips to stay in place if you touch them. It can take an hour or two.
Ending
I hope you have seen the tutorial as helpful and open. It’s excellent to use some future crafting ideas, and the wonderful thing about skins is that there is no end to the pictures you can try or the fun you can have. Get the paper-Mache and keep expanding your costume wardrobe!